
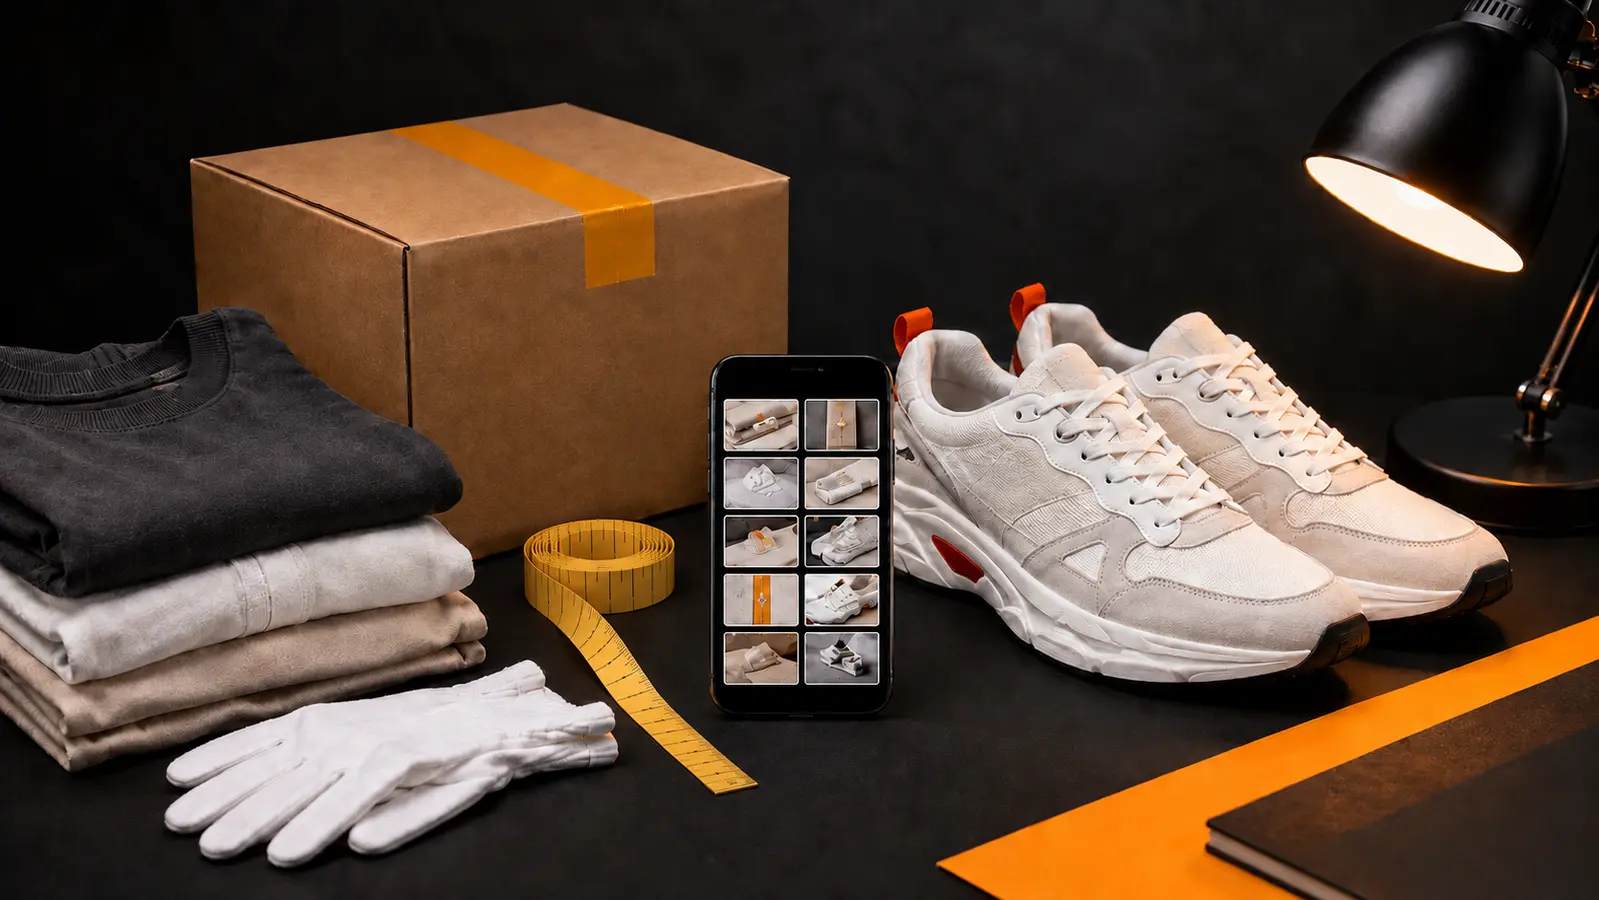
Warehouse photographs are most useful when each frame answers one question. This protocol turns LitBuy's advertised free QC and inspection photos into a controlled decision process, with clear stopping rules for pass, hold and return decisions.
Define what QC can and cannot prove
LitBuy publicly advertises free QC and inspection photos after an item reaches its warehouse. Those photographs can confirm the received color, visible size tag, quantity, included parts and obvious exterior condition. They can also reveal measurable problems such as a broken zipper, severe panel distortion or a pair of shoes with visibly different shapes. They cannot prove material composition, long-term durability, internal construction, authenticity or how an item will feel after hours of use. Begin with this boundary so the evidence is not asked to do an impossible job.
Before opening the gallery, reread the exact variant specification saved at purchase. Check the seller option, color, size, model and expected accessories. A warehouse photograph is not self-explanatory; it becomes evidence only when compared with an independent reference. If the order note says black, size L, detachable strap included, those are the first three questions. This identity check should happen before logo placement, stitch density or minor surface marks because receiving the wrong version overwhelms smaller quality debates.
Run a sixty-second triage before zooming in
Use the first minute to scan for catastrophic mismatches. Count the items and components. Compare the silhouette with the ordered model. Look for major tears, crushed structures, obvious stains, missing hardware and pair-to-pair differences. Confirm that packaging shown in the images matches what you expected only if packaging matters to the purchase. Do not begin by hunting for microscopic imperfections. The triage stage exists to identify issues that would make every later detail irrelevant.
Assign one of three temporary states. Clear means the basic identity and structure appear correct. Hold means the evidence is incomplete or one view creates a plausible concern. Stop means a visible issue already crosses a rejection trigger. These are not final emotional judgments; they are workflow instructions. A clear item receives a category review. A hold item needs one defined fact. A stop item should be handled through the current order and return options without wasting time collecting decorative photographs that will not change the decision.
Control for light, angle and lens distortion
Warehouse lighting can push neutral colors toward yellow, green or blue, while automatic phone processing can increase contrast and saturation. Compare color across several frames and use a known neutral object in the scene when one is visible. A shade that changes from image to image is more likely a capture problem than a dye change. If exact color is a rejection trigger, request a controlled image under neutral or daylight-like lighting rather than asking whether the color is correct, which invites a subjective answer.
Perspective causes a second class of false alarms. An object closer to a wide-angle lens appears larger; a shoe rotated by a few degrees can seem longer; a bag photographed while empty can look uneven. Compare internal landmarks instead of the photograph edges. On shoes, use eyelets, panels and sole segments. On clothing, use seams and fold lines. On bags, use handle anchors and closure position. If the concern disappears when the object is viewed from a more level angle, it was never a stable defect.
Inspect clothing through measurements and tension points
For tops and jackets, prioritize chest width, total length, shoulder width and sleeve length according to the intended fit. Compare these with a garment you own, measured using the same method. Make sure the warehouse tape begins and ends at the correct reference points and lies flat. A raised hood, folded hem or diagonal tape can introduce several centimeters of error. Size letters are useful for order identity, but measurements are the practical evidence for fit when brand and factory grading are inconsistent.
After fit, inspect stress and alignment points: shoulder seams, armholes, zipper tracks, pocket edges, ribbed cuffs and print placement relative to garment seams. Loose surface threads can often be trimmed; an open seam or twisted zipper path is structural. For embroidery, look for missing fill, broken outlines and puckering around the backing. Fabric weight and drape may offer clues, especially when an item weight is shown, but photographs cannot establish fiber content or predict how material will behave after washing.
Read sneaker geometry as a pair
Never judge one shoe in isolation. Place the pair mentally on the same baseline and compare heel height, collar shape, toe volume, panel position and sole curvature. Look at both lateral sides, both medial sides, the rear view, toe boxes and outsoles. Large pair-to-pair differences matter more than tiny deviations from a promotional image because the two units will be worn together. Perspective can exaggerate asymmetry, so ask for a level paired photograph when one shoe is closer to the camera.
Move from structure to finishing. Check for sole separation, deep scratches, torn mesh, crushed heel counters and excessive adhesive where it affects appearance or bonding. A faint glue line may be ordinary manufacturing variation; a gap that casts a shadow can indicate separation. Confirm size labels on both shoes if visible, and request an insole or outsole measurement when fit risk is high. Color comparison should be performed across multiple panels and frames, not from one saturated photograph.
Test bags at their functional junctions
A bag can look convincing in a front photograph and still fail at the points used every day. Inspect handle anchors, strap clips, zipper starts and stops, magnetic closures, corner piping and the base. Compare paired handle attachments and check whether a centered closure actually meets its counterpart. Confirm that detachable straps, pouches, locks or keys listed with the selected variant are present. If a bag is photographed empty, allow for temporary folds, but do not ignore twisted handles or displaced hardware that remains visible from several angles.
Surface review comes second. Look for deep scratches, coating loss, stains and poorly finished edge paint. Hardware color is difficult to judge under warm lights, so use consistent reflections and request a neutral-light image when tone is critical. Dimensions matter because close photography can make a small bag appear substantial. Compare warehouse measurements with the listing and your intended use. Packaging is a separate decision: minor box damage may be irrelevant unless presentation, protection or collectability formed part of the purchase requirement.
Scale the method for accessories and electronics
Jewelry, belts and small accessories often require close framing because standard warehouse views leave important details only a few pixels wide. Confirm quantity, color, clasp or buckle function, visible dimensions and included pieces. Macro images exaggerate dust and tiny surface marks, so compare the suspected issue with the overall scale of the object. For belts, check the chosen length and hole pattern. For jewelry, focus on secure closures and obvious deformation before decorative micro-details that may not be reliably resolved.
For electronics, QC photographs generally confirm exterior condition, model labeling and included accessories; they do not automatically prove battery health, internal specification or sustained operation. Determine what tests the current service actually offers before assuming a device was fully evaluated. Products with batteries, magnets or other special attributes may also affect international route eligibility. A visually perfect item can still be a poor parcel choice if its transport requirements were not checked before purchase.
Write targeted evidence requests
A useful request names the object, location, angle and purpose. Write: photograph both heels level from directly behind to compare alignment. Or: measure chest width from armpit seam to armpit seam with the garment flat. Or: close image of the left handle anchor under neutral light to confirm whether the dark line is a scratch. This format reduces misunderstanding and makes the next image capable of closing the question. More photographs without a test condition often create more angles but not more certainty.
Ask only for evidence that could change the decision. If a missing strap already triggers rejection and the standard images clearly show it is absent, a close-up of the zipper adds nothing. If a tiny mark would be acceptable regardless of size, do not spend time measuring it. A hold should have a binary exit: the requested view either clears the requirement or confirms the trigger. When the evidence remains ambiguous, decide according to replacement difficulty, cost, deadline and how noticeable the issue will be in actual use.
Document the verdict without overclaiming
Save the QC date, the views reviewed, any measurement received and the final reason for pass, hold or return. Avoid writing perfect quality or permanently verified. A more useful note says: correct navy size M, chest width within target, zipper straight, small hidden thread accepted. This language preserves the evidence and the buyer's tolerance. It also makes later comparisons possible if another unit from the same listing arrives with different construction or sizing.
After delivery, compare the physical item with the warehouse verdict. Did the apparent color difference disappear? Was the measured width predictive of fit? Did a suspected mark matter in normal light? Feed those answers back into the protocol. Quality control improves when the reviewer learns which visual signals were reliable and which repeatedly produced false alarms. The objective is not a dramatic rejection rate; it is a lower rate of preventable surprises after international shipping.
Field questions that prevent bad QC decisions
Do free QC photos guarantee quality? No. They are a valuable visible-condition checkpoint, and LitBuy currently advertises them as part of inspection, but their scope is limited to what is shown and measured. Should a buyer reject every visible flaw? No. Compare the issue with prewritten requirements, normal manufacturing variation, item price and daily impact. Is one photograph enough to judge color or symmetry? Usually not when angle or lighting could explain the difference.
What deserves an extra view? A concern that is plausible, important and resolvable through a specific photograph or measurement. What does not deserve one? A detail that would not change the decision, a material property the camera cannot prove, or a known mismatch already sufficient for action. The best QC process is not the one with the most zooming. It is the one that identifies the few facts capable of changing the outcome and obtains those facts before the parcel is submitted.